Introduction
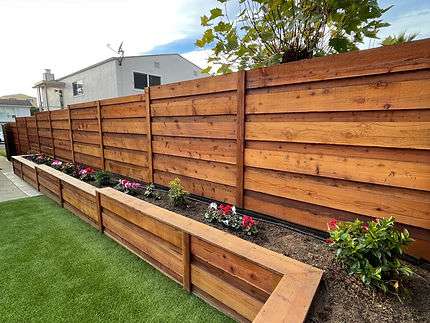
Creating a stone block garden is an excellent way to enhance your outdoor space. Whether you want a raised flower bed, a vegetable garden, or a decorative feature, stone block gardens provide a sturdy and attractive solution. In this guide, we will walk you through how to lay a small foundation stone block garden step by step.
Related: DIY Raised Garden Beds
Table of Contents
Why Choose a Stone Block Garden?
Stone block gardens are durable, low-maintenance, and add a natural aesthetic to any yard. They help in soil retention, prevent erosion, and create defined planting areas.
Benefits of a Small Foundation Stone Block Garden
- Enhances the visual appeal of your garden
- Provides a sturdy and long-lasting structure
- Allows for better soil control and drainage
- Requires minimal maintenance
Tools and Materials Needed
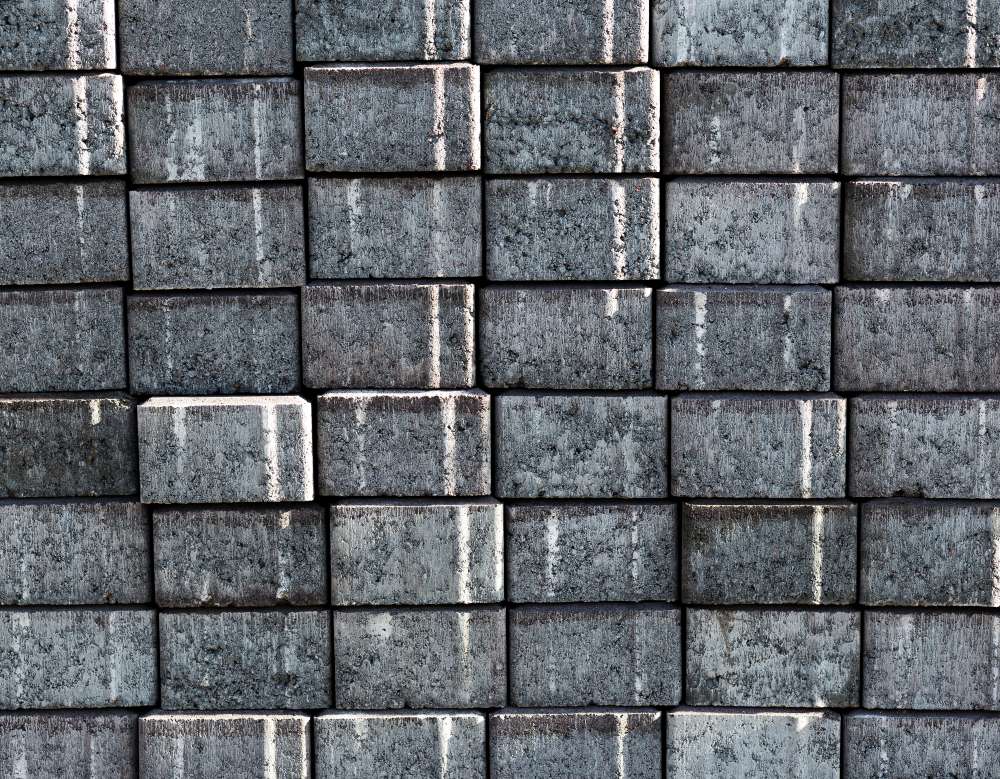
Before you start, gather the necessary tools and materials to make the process smoother.
Essential Tools for the Job
- Shovel – Used for digging trenches and clearing soil.
- Tape Measure – Ensures accurate measurements of the foundation area.
- Level – Helps maintain an even and stable foundation.
- Rubber Mallet – Useful for adjusting and securing stone blocks in place.
- Wheelbarrow – Ideal for transporting gravel, soil, and other materials easily.
- Tamper – Compacts the base material to provide a stable foundation.
- String and Stakes – Help outline the layout and keep the structure aligned.
- Trowel – Assists in spreading and leveling the base material.
- Gloves and Safety Goggles – Provides protection while handling heavy materials.
- Garden Hose or Watering Can – Keeps the soil moist for easy planting.
Choosing the Right Stone Blocks
Selecting high-quality materials is crucial for a durable stone block garden. Consider the following:
- Concrete Blocks – Durable and available in various shapes and sizes.
- Natural Stone Blocks – Aesthetic but heavier and may require additional support.
- Crushed Gravel or Sand – Acts as a stable base layer to prevent shifting.
- Topsoil and Compost – Provide nutrient-rich soil for healthy plant growth.
- Landscape Adhesive (Optional) – Enhances stability by securing stone layers together.
Where to Buy: Stone Blocks & Landscaping Supplies
Planning Your Stone Block Garden
Selecting the Ideal Location
Choosing the right location is crucial for a successful stone block garden. Consider the following factors:
- Sunlight – Ensure the area gets adequate sunlight for the plants you intend to grow.
- Drainage – Avoid low-lying areas where water may accumulate and cause drainage issues.
- Proximity to Water Source – Select a spot near a water source to make irrigation easier.
- Garden Aesthetics – Position the garden where it enhances the overall landscape design.
- Accessibility – Ensure easy access for maintenance, planting, and harvesting.
Measuring and Marking the Foundation
- Determine the Size – Decide on the dimensions based on available space and intended use.
- Use Stakes and String – Mark the perimeter using stakes and run a string around them to create a guide for the structure.
- Check for Level Ground – Use a level to ensure the area is even. If needed, make slight adjustments to prevent an uneven foundation.
- Mark Digging Zones – Indicate where the trench will be dug for the first layer of stones to ensure proper alignment and stability.
- Consider Future Expansion – If you plan to expand your garden later, leave room for additional sections.
How to Lay a Small Foundation Stone Block Garden
Preparing the Ground
- Clear the Area – Remove any grass, weeds, rocks, or debris from the marked area to create a clean workspace.
- Dig a Trench – Excavate a trench approximately 4-6 inches deep where the first layer of stone blocks will be placed. Ensure the trench is level to prevent shifting.
- Lay the Base Material – Fill the trench with a layer of crushed gravel or sand. This base layer helps with drainage and prevents the blocks from settling unevenly.
- Compact the Base – Use a tamper to press down the gravel or sand, creating a solid and level foundation.
Laying the Foundation Stones
- Start at a Corner – Begin placing the first row of stone blocks at a corner to establish a strong foundation.
- Ensure Level Placement – Use a level to check that each block is evenly positioned. Adjust as needed using a rubber mallet.
- Continue Placing Blocks – Work your way along the trench, keeping the blocks tightly fitted together to minimize gaps and shifting.
- Double-Check Alignment – Periodically step back and verify that the row remains straight and level.
Stacking and Securing the Blocks
- Lay the Second Layer – Begin the second row by staggering the joints of the blocks to increase stability.
- Apply Adhesive (Optional) – If desired, use landscape adhesive between layers to help hold the blocks together.
- Check Stability – Ensure each layer is secure by gently pressing on the blocks to confirm they are firmly in place.
- Continue Stacking – Add layers until you reach the desired height, ensuring each level remains properly aligned.
Filling and Planting Your Garden
Choosing the Best Soil Mix
- Prepare the Soil – Use a well-draining soil mix that includes topsoil, compost, and sand to promote healthy plant growth.
- Fill the Garden Bed – Evenly distribute the soil mixture inside the stone block structure, leaving some space for plant roots to expand.
Selecting Plants for Your Stone Block Garden
Choose plants that suit your climate and gardening goals. Some excellent choices include:
- Flowers – Marigolds, petunias, and lavender for vibrant color.
- Herbs – Basil, rosemary, and mint for culinary use.
- Vegetables – Tomatoes, peppers, and lettuce for homegrown produce.
Maintenance and Upkeep
Preventing Weeds and Erosion
- Use Mulch – Spread mulch around plants to suppress weeds and retain moisture.
- Check for Loose Stones – Regularly inspect and adjust any shifting blocks to maintain the structure’s integrity.
Long-Term Care Tips
- Water Regularly – Provide adequate water based on your plants’ needs, especially during dry seasons.
- Remove Weeds – Pull out unwanted weeds to keep your garden looking neat.
- Inspect Stability – Periodically ensure that the stone blocks are secure and not shifting over time.
Conclusion
Now that you know how to lay a small foundation stone block garden, you can create a beautiful and lasting addition to your outdoor space. With proper planning and maintenance, your garden will thrive and provide years of enjoyment.
For more gardening tips, visit Gardeners’ World.

